
Pack your lunch pails, it is time to head back to school!
When I first told the kids that we covered our school books with paper shopping bags, they laughed at the idea. Mmmhhhmmm...looks who is laughing now children. This vintage Momma makes pretty book covers. Of course waaaay back when, we didn't have printers. We had ditto's and printers that we cranked by hand so we had to rely on our own artistic abilities to decorate them...oh so long ago.

Now, we have printers and tons of free graphics. Free coloring pages work the best!

This is much more UNIQUE than those generic stretch covers.

It doesn't matter that they aren't perfectly aligned.
They still look wonderful.

If you would like to make some for your own children, here is what to do:

Create a book cover out of an old paper grocery bag. If you do not know how, give it a google. The instructions are everywhere so I won't be redundant here. This was a common practice back in "the day" and can be completed in about four minutes or less.
I had one youngster ask me where to get large paper bags. I suggested that the next time the parents are purchasing groceries and are given the option of "Paper or Plastic" they opt for paper.
It's free.

So you made a book cover!
Now, crumple it up.
Un-crumple it.
Crumple it again.

Iron it out. Use steam or spray...make it flat.
Now your paper has a great texture on it.
Now your paper has a great texture on it.
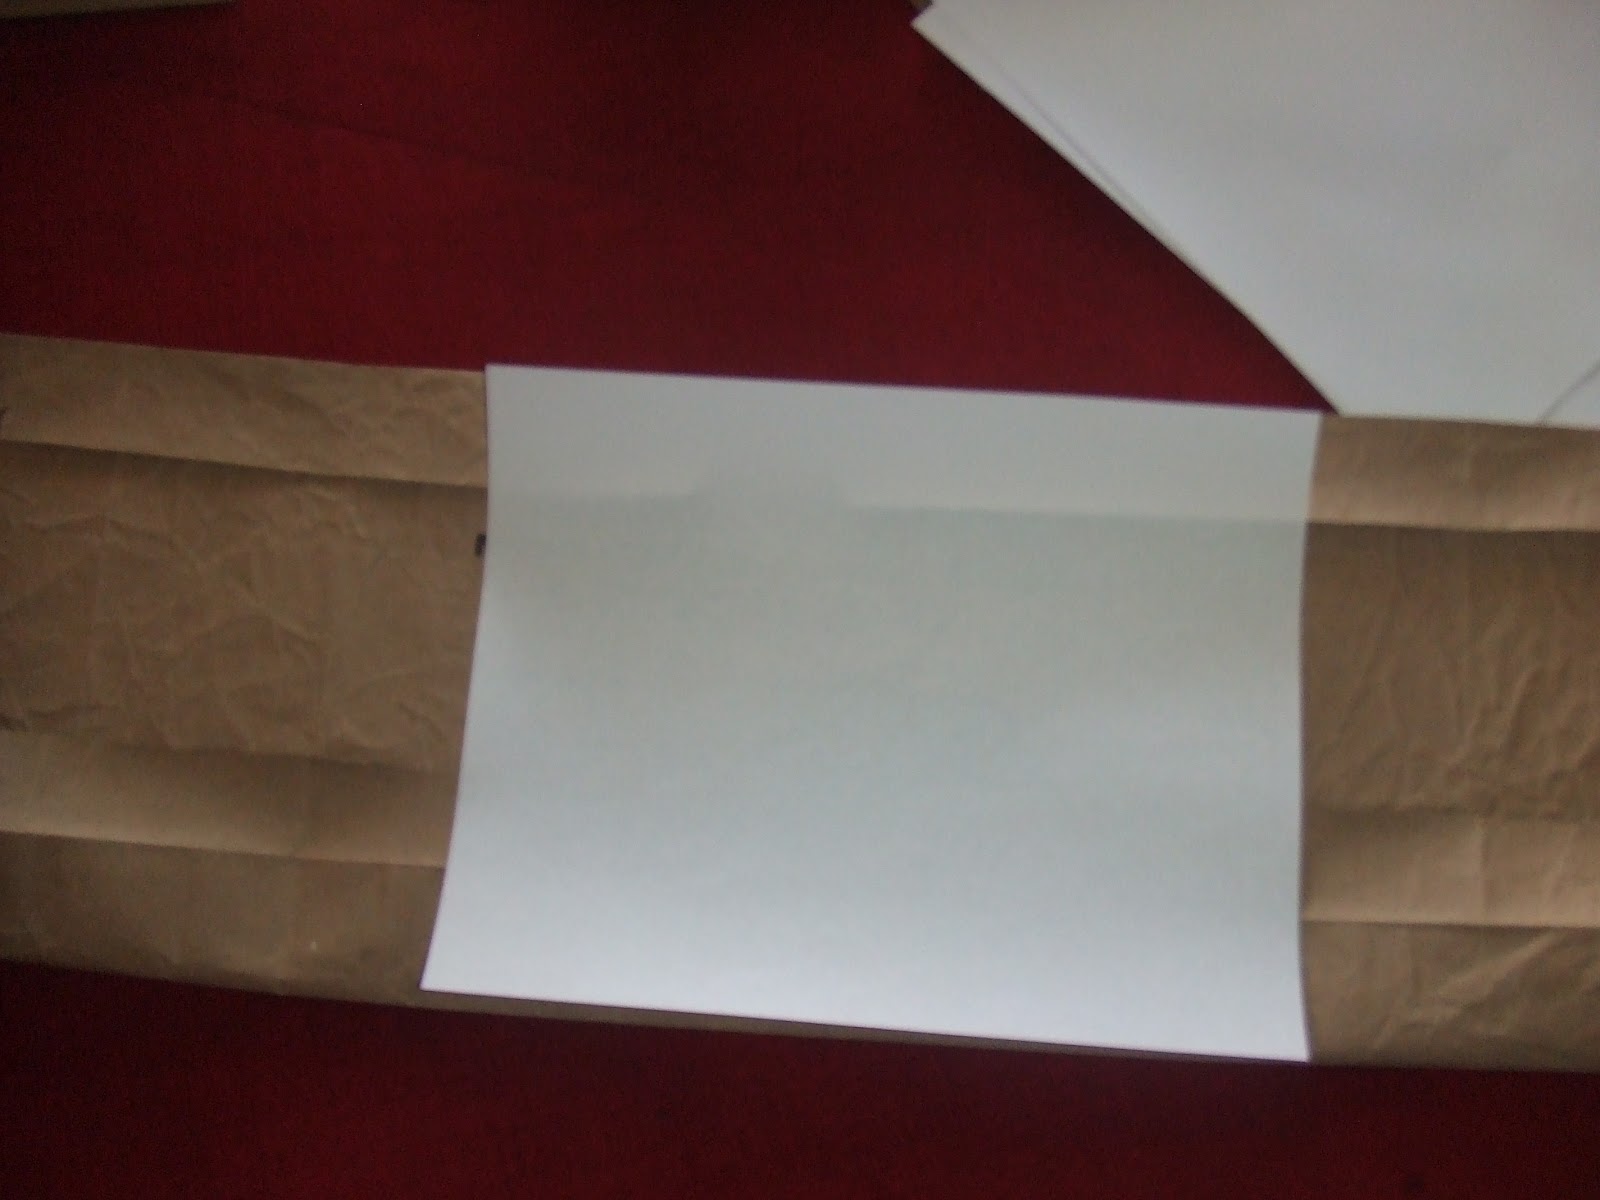
MAKE A TEST PRINT OF YOUR IMAGE ON WHITE PAPER. PRETEND THERE IS AN IMAGE ON MY WHITE PAPER SHOWN BELOW.
If there is print on the grocery bag it should be up. Using your TEST IMAGE on 8.5' x 11" piece of paper as a guide, fold the sides in to be slightly smaller than the paper. This will give you a very long piece of paper that is just a bit less than 8.5" high.
See where we are going?

Find the best position for your art on the paper bag. How your art prints onto the white paper is how it will print onto the paper bag. I suggest wrapping the bag around the book so that you can see where your print will go. Once positioned, fold the bag where the paper ends. The closed folded end will go into the printer. It will make more sense once you are in the process. It is easier to do than to read.

Iron those creases with steam so they are as flat as possible.
See how the bottom fold is thicker that the top fold? This is why my prints are off. You could do better. Let your bag dry after steaming so that the ink will take well.
See how the bottom fold is thicker that the top fold? This is why my prints are off. You could do better. Let your bag dry after steaming so that the ink will take well.
The end I am pinching will go into the printer.
Ready to print?
AGAIN:
Make sure all of the flaps and folds are on the inside of the folding.
Make sure that the closed folded edge is inserted into the printer.
If you don't check these and insert it the wrong way, your printer will eat your book cover for lunch!

Place your properly folded paper bag into the printer,print, and recover your book.

Done.
Signing off with satisfaction!
Jane Valentine
I'm hooking up with Colorado Lady for:

What a fantastic idea! I love it!
ReplyDeleteOh, by the way, Jane - yes, you can have some of my Hibiscus seeds. I'll let you know when they're ready!
ReplyDeleteI thought it was a fun idea Sue. I really appreciate that you host a linky for us all to get together each week. That you would think to send seeds too, well that is beyond kind. Hugs to you through the wires!
DeleteThank you for popping by. I love what you did here with the book covers. I've never seen finer styling textbooks.
ReplyDeleteWe covered our books with anything we could find. I did not know they were doing that now.
ReplyDeleteYour book covers are wonderful! What a creative and inexpensive way to add a little pizzazz!
ReplyDeleteSmiles,
Carolynn